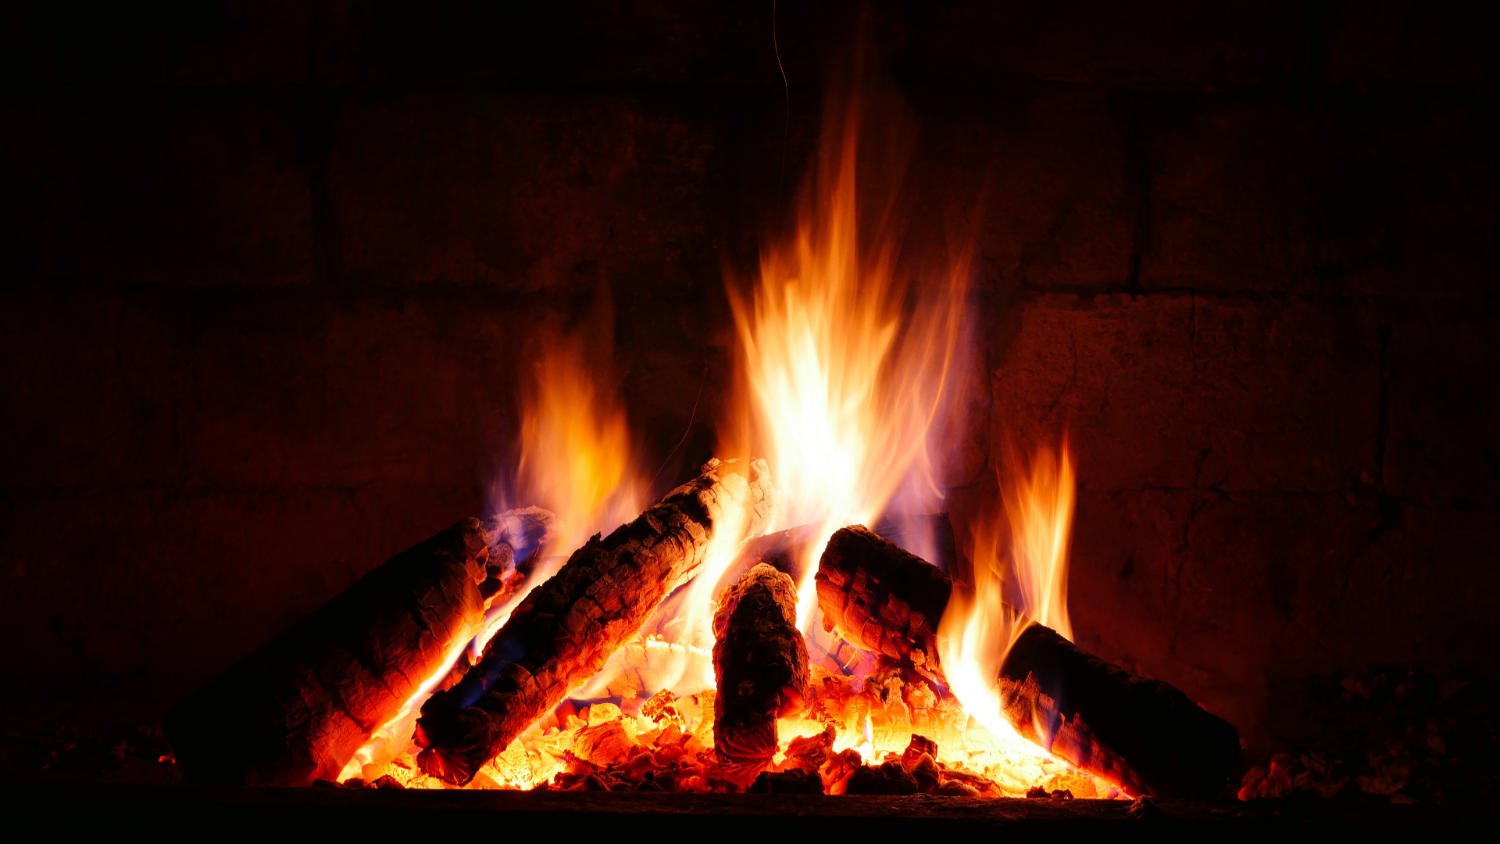
Build a Great Campfire!
We don't always have a campfire when we camp. The RV is a warm and welcoming haven when the weather is cold, and we typically cook in our tiny kitchen so a campfire is more of an ambiance element than a necessity. However, when we camp with others, the campfire is a great place to gather and enjoy conversation, laughter, and stories. Many parks prefer campers to purchase firewood on-site rather than bring it in (to prevent the spread of damaging insects), so you don't always know what type of wood you will get. If you can bring your own, vie for dried and seasoned wood for the best fire with the least smoke.
Learning to build a good campfire isn't rocket science, but it does require a few elements to be successful. The type of wood influences the way the fire burns, but it is the set up for the fire that determines how well it will burn.
Build your campfire in the ring or fire pit provided by the campground. If you are camping where there is no provided fire pit, you will need to clear an area down to bare dirt for a fire pit. Make sure it is clear from overhanging branches, shrubs or grass. Create a shallow hollow to help contain the campfire. Create a wide perimeter around the fire pit area, free of all leaves, sticks, and grass.
Lay down a layer of starter material (tinder). This could be a handful of cotton balls coated with petroleum jelly, or dryer lint covered with wax, or just a bunch of dried pinecones, leaves and grass. The idea is to provide something that will catch quickly and burn long enough to ignite the kindling layer. Keep in mind, bringing your own tinder means you won't have to rely on what you can find around the camp, and if the weather is wet, having your own tinder is very important.
Build a "teepee" shape from kindling material. This shape will allow air to feed the fire from all sides. Place loose layers of small sticks, no bigger in diameter than a pencil, all around the "teepee". This layer should burn longer than the tinder and be hot enough to ignite the next layer of small branches.
Over the kindling "teepee" place small branches as your primary fuel. You don't have to use big logs like you use in a fireplace at home, just something about the diameter of your arm.
If you want to use dry, split logs, wait until the small branch layer has ignited and then add the larger split logs one at a time as needed to fuel the fire.
Ignite the tinder layer. The "teepee" shape allows the fire to reach up through the layers of fuel.
Keep feeding the fire. Once the fire begins to ignite, keep an eye on how the fire is burning and progressing from layer to layer. Add material where needed to keep the fire progressing to the log layer. Once the log layer ignites, make sure to continue to feed it to keep your campfire going for the whole party
Putting out the fire
When the party winds down, let the fire wind down too. It takes about half an hour to put out a campfire. Begin by moving the larger logs away from the center coals.
Stir the coals to separate them and sprinkle them with water. Don't douse the fire. You may want a fire again tomorrow and a soggy fire pit is not a great place to build a fire.
Continue to sprinkle the coals and logs until no more steam rises and there is no hissing sound coming from the fire pit.
Hold your hand above the fire pit in several areas. If you can still feel heat, keep sprinkling with water and stirring the ashes to put out the embers. Continue until the entire area is cool. Stay vigilant until it is completely extinguished
If you have campfire building tips, let us know in the comment section below. We would love to hear from you!

